Building a N100 Debian-based DIY NAS, Part 1: Hardware
2024-08-07
15 min read
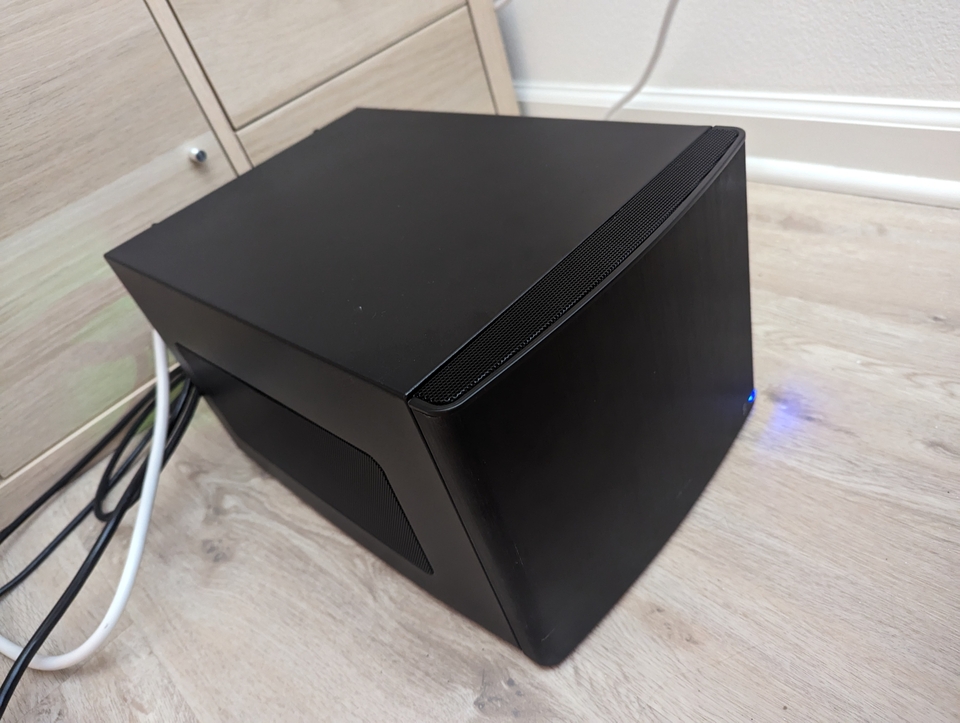
Today, I'm diving into the exciting world of DIY NAS (Network Attached Storage) builds.
This is my second NAS build. My first build was an All-In-One Pentium G5400 system in 2019. At that time, I simply installed a single 3TB WD Blue drive, formatted it to ext4, and configured SAMBA to access it from my Windows laptop. No redundancy, no backup --- just a basic network drive because it sounded cool. When you're a cash-strapped Chinese undergrad living on less than $300 a month, you do with what you've got. I was not storing anything critical on it anyway.
Fast forward to today, and I find myself in dire need of a serious NAS setup.
Current Setup
Currently, my "NAS" is a 2TB WD Element portable drive mounted on my app server. It's handling:
- App data backups (I do have off-site backup at DigitalOcean, don't worry (link under construction))
- Proxmox VM backups
- Frigate video clips of our cat
- Audiobooks and podcasts
- Linux ISOs
Some of this data is pretty important, but the cost of a proper NAS always gave me a good excuse to procrastinate. That is, until Immich entered the chat.
My partner's 1TB iCloud storage is bursting at the seams. In addition, she's been dreaming of a shared album with me. Now, I appreciate the simplicity of iCloud albums, but as an Android user and full-time Apple hater, I don't quite like the idea of switching to an iPhone. Immich seemed like the perfect solution for our shared album problem. But I'm about to store someone else's data, and I can't afford to lose it. Suddenly, a NAS isn't just a want; it's a need.
Side note: Yes, buying an iPhone Plus (I very much need a 6.6+ inch display but couldn't afford iPhone Pro Max) might have been easier (and cheaper). But hey, where's the fun in that?
Hardware Selection
This time around, I'm not just slapping together the most powerful and affordable CPU-mobo combo I can find and putting it inside a $15 case. I'm aiming for small, power-efficient, and QUIET, with at least 6 drive bays.
Unsurprisingly, I'm going with the Intel N100 for this build once again. The N100 has got quicksync, and has a single-core performance that's 90% of my 8th gen laptop CPU. Since I use my laptop happily, it should be more than an overkill for a NAS.
However, finding a good N100 motherboard is HARD:
- There are really only three reputable options: AsRock N100M (mATX), AsRock N100DC-ITX, and ASUS Prime N100I-D D4.
- My chosen case is only compatible with mini-ITX, so goodbye N100M
- The AsRock N100DC-ITX is decent BUT it must use that 19V DC jack instead of a regular ATX PSU. Wolfgang did a very good job adapting an SFX PSU to it, but I'm not going to play with the wiring with my most valuable data on the line.
- That leaves me with the ASUS Prime N100I-D D4. It only features one SATA port, one M.2 slot, plus one PCIE3x1 slot (with an additional M.2 E key). Additionally, the NIC is only 1 GbE (why on earth don't you just go 2.5G ASUS???).
- Side note: the ASUS board takes laptop RAM while the AsRock ones accept regular DIMM DDR4 sticks. I have a spare SO-DIMM stick lying around, which is also part of the reason for my choice.
There are some tempting Chinese boards on AliExpress with more SATA ports and multiple 2.5GbE NICs, but they use the cheap JMB585 SATA controllers that don't support power management. As a result, the boards won't go below C3 state and will idle at ~20 watts.
The N100I-D D4 motherboard is sold on Amazon Germany and costs ~$120 after tax and delivery (which makes me wonder why AsRock can price their board at $130 before tax. Plus, the AsRock board is only available through sketchy 3rd party resellers at >$150 at the moment).
Since it has only 1 SATA port, I'm going to add 6 more via an ASM1166 M.2-to-SATA converter, at about the same price as a JMB585 converter. This chip has proper power management, so the system can go to C10 deep idle state. I'll have to use a SATA SSD, but I'm okay with that.
And of course I will add an Intel i226-V PCIe card to provide 2.5GbE network. I'm leaving the E key WiFi card slot empty, but may add a Coral TPU or a PCIe riser later.
An alternative is converting the PCIe slot to 6 SATA ports and using a weird E-key-to-2.5GbE adapter for the networking. However all the NIC adapters I found use Realtek chips, and I really want to use an Intel NIC.
For RAM, I have a 16GB DDR4 stick I took from my Beelink Mini S12 Pro when I replaced it with a 32GB stick. The SSD is a Samsung 870 EVO 512GB. For the PSU, I chose the Corsair RM750x SHIFT because of its reported good efficiency.
The case was a tough decision. I hesitated between Jonsbo, Fractal Design Node 304, and a variety of Chinese NAS cases. Chinese NAS cases have been booming in recent years. I found many nice=looking and compact cases that can beat the sh*t out of Jonsbo N series. But ultimately, I decided to go with a Node 304 even though it's larger because those alternatives are mostly hot vibration amplifiers.
And lastly, hard drives. Here's what I learned after a few days of research:
- Anything 8 TB or larger is loud AF. Some 10TB+ drives are quieter thanks to helium filling, but they all make annoying seeking noises.
People saying they're quiet are either half-deaf or assuming everyone in the world lives in a 3-story, 2500-sqft house. - The only solid choices are Seagate IronWolf (non-Pro version) and Western Digital Red Plus.
- I'll use RAID 10 due to its good performance and redundancy. RAID 5 takes days to rebuild when the array degrades (which usually guarantees a failure during the resilver), while RAID 6 performs poorly. This means I get only 50% of the total capacity, but as a result, read performance is maximized, and resilvering only takes ~10 hours for a 6 TB drive running at 200 MB/s.
I decided to buy a pair of WD Red Plus 6TB drives in the end after finding the difference in noise level between 4 TB and 6 TB drives minimal. This way I could set up a minimal RAID 10 (or RAID 1, whatever) and add more pairs later.
To summarize, here's the part list of the diskless system:
| Component | Name | Price |
|---|---|---|
| CPU + Motherboard | ASUS Prime N100I-D D4 | $120.98 |
| PSU | Corsair RM750x SHIFT | $98.20 |
| RAM | Unbranded 16GB DDR4 3200MHz RAM | Free (~$30) |
| SSD | Samsung 870 EVO 500GB | $60.01 |
| Case | Fractal Design Node 304 | $109.11 |
| PCIe to 6xSATA converter | Random Amazon ASM1166 adapter | $28.79 |
| 2.5 GbE NIC | Intel i226-V | $26.18 |
| Total | $443.27 |
All prices include tax and shipping because pre-tax prices are for suckers.
So, we're looking at about $470 for a diskless system (including the market price of the RAM stick) with 18 TB of usable sotrage under RAID 10. Not cheap, but comparable to an entry-level Synology 6-bay NAS, and with beefier specs.
A good portion of the money is spent on the case and the PSU, which is kind of annoying because I'm so used to using a $50 PSU and a $15 case back in China. If that were possible, the entire diskless build could be done for around $300.
A Quick Rant: ZFS and RAM Requirements
Before we proceed, let's address two common criticisms some folks might be yelling at this point:
1. "Why aren't you using ECC memory?"
Unfortunately, the Intel N100 CPU doesn't support ECC. So even if I wish, I couldn't.
That said, for a home NAS it's fine to use non-ECC memory. But I'll be extra diligent with backups and snapshots.
2. The RAM is too little, you need 8GB plu....
Oh boy, here we go. The "8GB + 1GB per TB" rule is assuming you serve multi-user, 24x7, under heavy load with random access all the time. I'm just a casual homelabber who reads 1 TB of data a day at most, so a small amount of RAM is enough for good performance.
some people just won't accept this basic fact. They often defend their position with statements like:
- RAM is cheap
- Yeah, you can run it with less memory, but to achieve mAXimUm PeRFoRmAncE you need 8 GB + 1 GB per TB...
Sure, go ahead and buy however much RAM you'd like and cram 96 GB of memory into a file server from which you don't even access 1 TB per day.
Here's the myth-buster from the official OpenZFS documentation:
8GB+ of memory for the best performance. It's perfectly possible to run with 2GB or less (and people do), but you'll need more if using deduplication.
See? Even the ZFS implementers say 8GB+ is great, and you can run with less unless you're using deduplication (which I'm not).
OS Choice
As before, I will build the NAS using Debian. I know there are rock-solid NAS operating systems such as TrueNAS, OpenMediaVault, and maybe unRAID, but it's finally a chance for me to get my hands dirty with Linux filesystems, so I'm going to build everything manually at least this first time.
Initially, I thought it would be a daunting task to build the OS myself. However, after playing around with a TrueNAS SCALE VM, I found it far easier than building the router. There are only a few things you need to take care of for a NAS:
- Choose either Btrfs or ZFS as the filesystem of the data volume (more on this later)
- Create a RAID array from the disks
- Set up scrub, SMART, snapshot, etc. tasks as cron jobs and send alerts
- Install and set up SAMBA, NFS, and iSCSI
- Add offsite backup (Wat? You think I can afford the 3-2-1 strategy?)
- Install Docker to run Jellyfin, qBittorrent, and Immich
- Enjoy
See? Not too hard to set up. The only real disadvantage is the lack of a nice GUI, but that can be mitigated by writing some utility scripts.
And reasons to choose Debian:
- I love Debian; it's perfect for servers.
- TrueNAS SCALE is based on Debian, so I have a very good reference to set things up (and a fallback if I eventually grow tired and just want a nice, working GUI).
Filesystem
I had to make a decision between ZFS and Btrfs (I didn't know much about XFS but wanted to follow the herd), and it was hard because I hadn't used either of them. I STRONGLY favor Btrfs because it's built into the kernel and makes many nice promises such as auto-rebalancing, but in the end I chose ZFS. Here's a list of things I've found about the two filesystems:
- Btrfs supports mixing drives of different sizes.
- Btrfs will auto-rebalance after removing and adding drives. ZFS doesn't rebalance existing contents when plugging in a new drive, although there's a script to do in-place rebalancing.
- The RAID modes of Btrfs are defined in an unconventional way.
- For example, Btrfs RAID 1 only guarantees that a block will have 2 copies on two different drives. This makes sense for two drives, since that essentially means a mirror, but when setting up 3 drives, the RAID 1 mode becomes strictly worse than RAID 5: you can still lose only 1 disk but have only 50% of the total capacity.
- Btrfs makes no guarantee on how the data will be stored in RAID 10, so I don't dare risk it.
- Btrfs RAID 10 performance "requires further optimization" forever.
- When a disk is down and the RAID falls below the minimum requirement, Btrfs developers somehow decided the system should refuse to mount it automatically on startup. Which makes RAID rescuing unnecessarily tedious. This apparent arrogance of the Btrfs designers is what annoyed me the most. It seemed to me that they just don't care how painful their users' experience can be when they are already stressed by the failing RAID.
PC Building
Alright, it's time to get our hands dirty.
The first thing I checked was the power draw of the diskless system. I'd heard whispers of this motherboard drawing over 20 watts at idle, which would be a deal-breaker for our power-efficient dreams. Ideally, we want to see less than 10W.
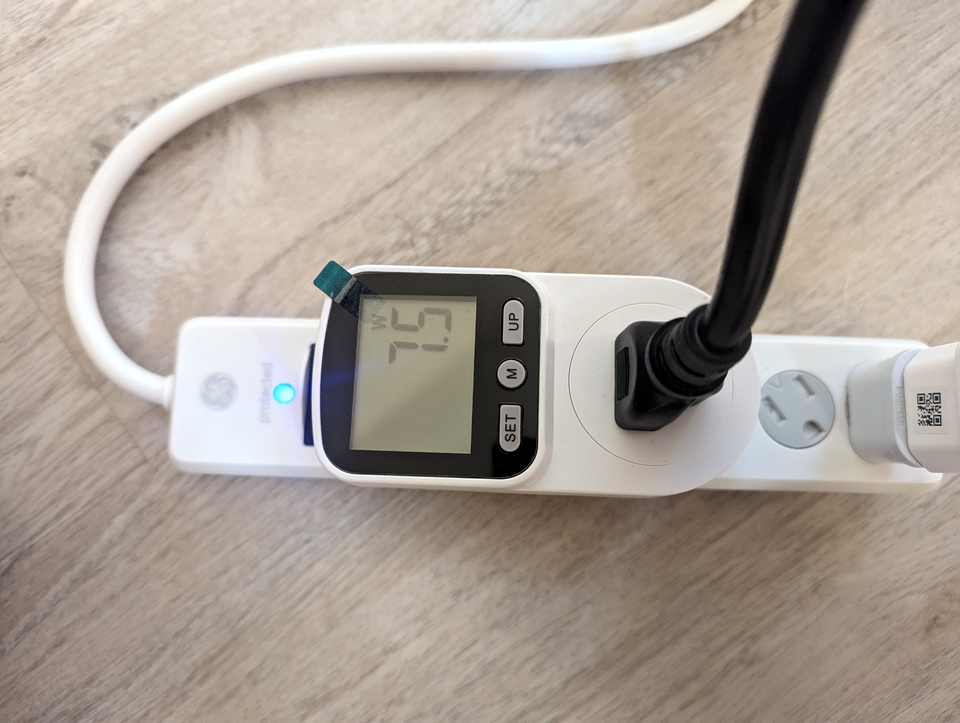
We're looking at just 7.5W with a SATA SSD and an unplugged Intel i226-V NIC. I really couldn't expect less. A quick peek at powertop shows the CPU chilling in C10 state 99.9% of the time on a fresh Debian install.
Fun fact: I initially saw 9.9 watts, but then realized I hadn't unplugged the HDMI cable and the keyboard.
Here's a matrix of the power draw from the wall with different components (sans case fans):
| Component | Watts |
|---|---|
| Mobo + SSD + unplugged NIC | 7.5 |
| Above w/ plugged NIC | 8.5 |
| Above w/ HDMI output | 8.9 |
| Above w/ keyboard @ USB 3.2Gen2 | 9.9 |
| Above, but keyboard @ USB 2.0 | 9.9 |
| Above, but keyboard @ USB 3.2 Gen 1 | 11.2 |
I disabled the built-in Realtek Gigabit NIC because it consumed 1 more watt. The readings are mesaured after disabling the NIC.
An interesting discovery: the USB 3.0 port (or USB 3.1 Gen 1, or USB 3.2 Gen 1 --- curse you, USB-IF) draws 1.3 watts more for the same keyboard compared to both USB 2.0 and USB 3.2 Gen 2 ports. A motherboard design issue, I guess.
Putting the system into the case was't easy. The case has barely enough room to contain everything, and I'm saving the CPU fan already. What's more, that fancy Corsair SHIFT PSU with its side-mounted ports decided to play chicken with the motherboard's 20-pin socket. I had to be creative and remove two screws from the PSU mount to squeeze both the PSU and the motherboard in. I hope the garbled cables won't cause issue in the future...
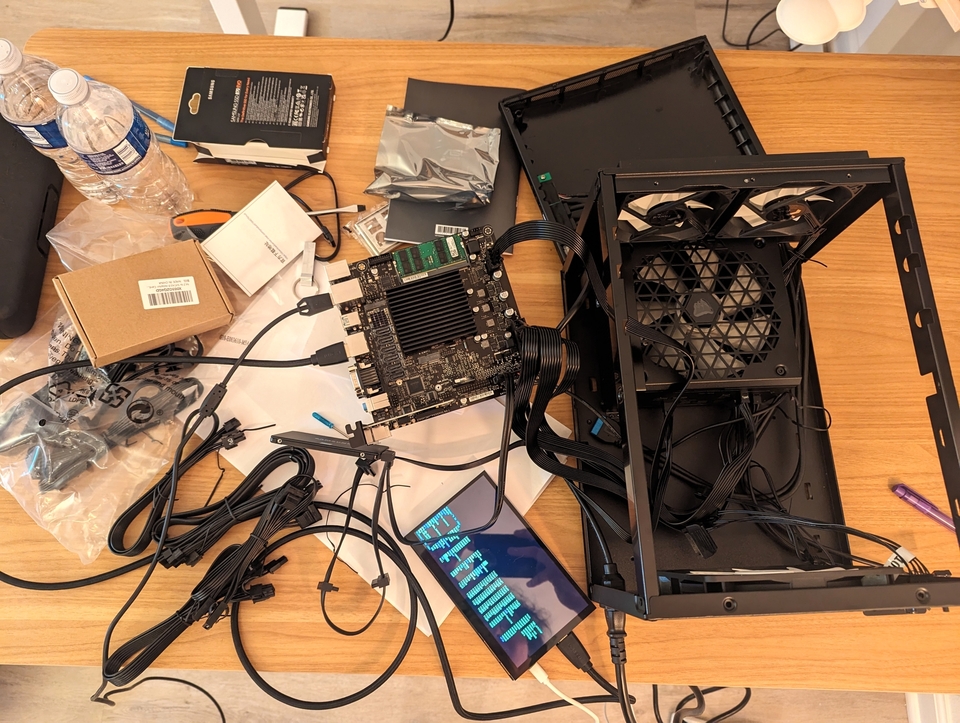
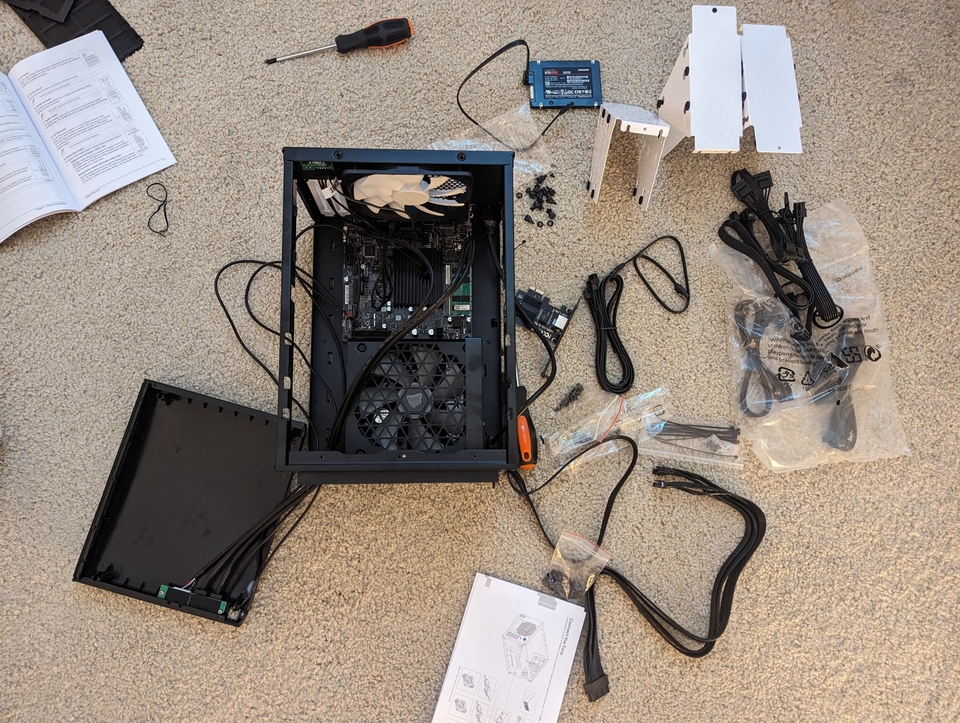
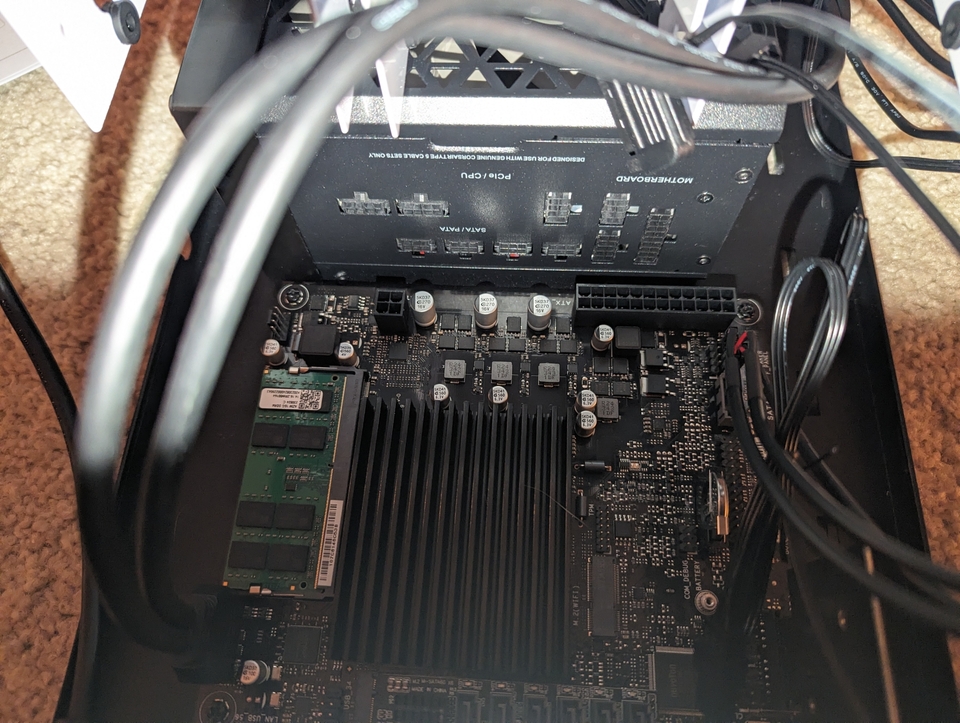
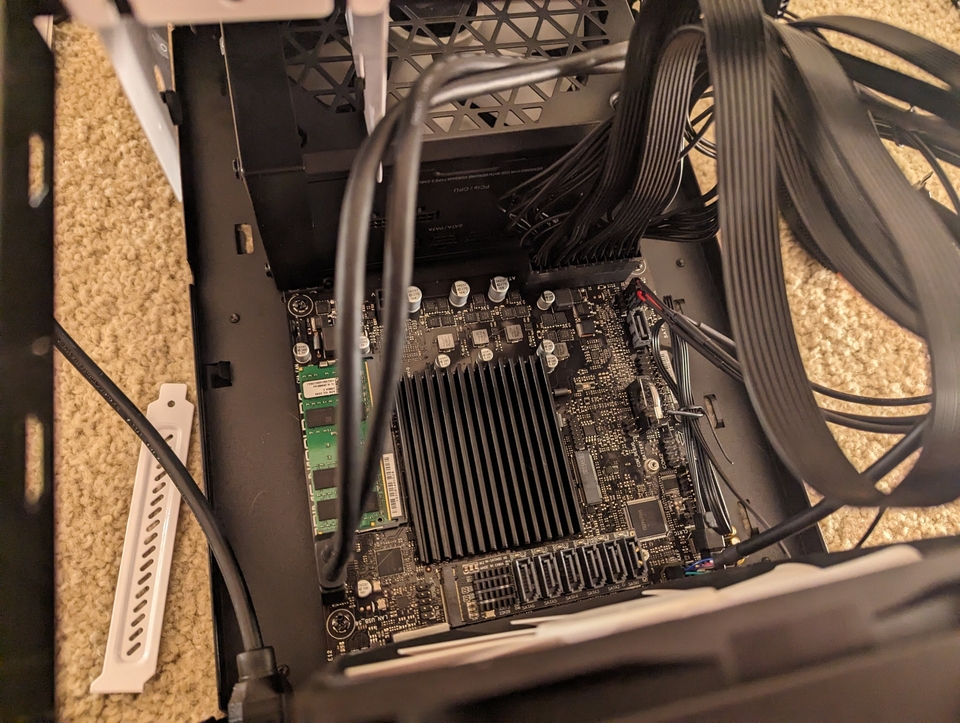
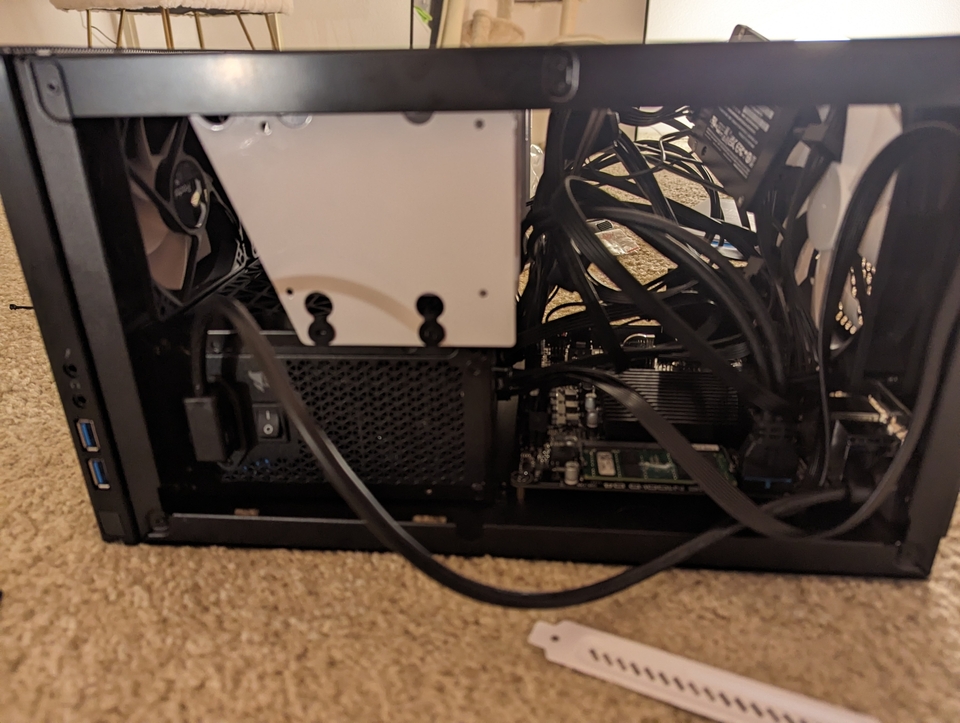
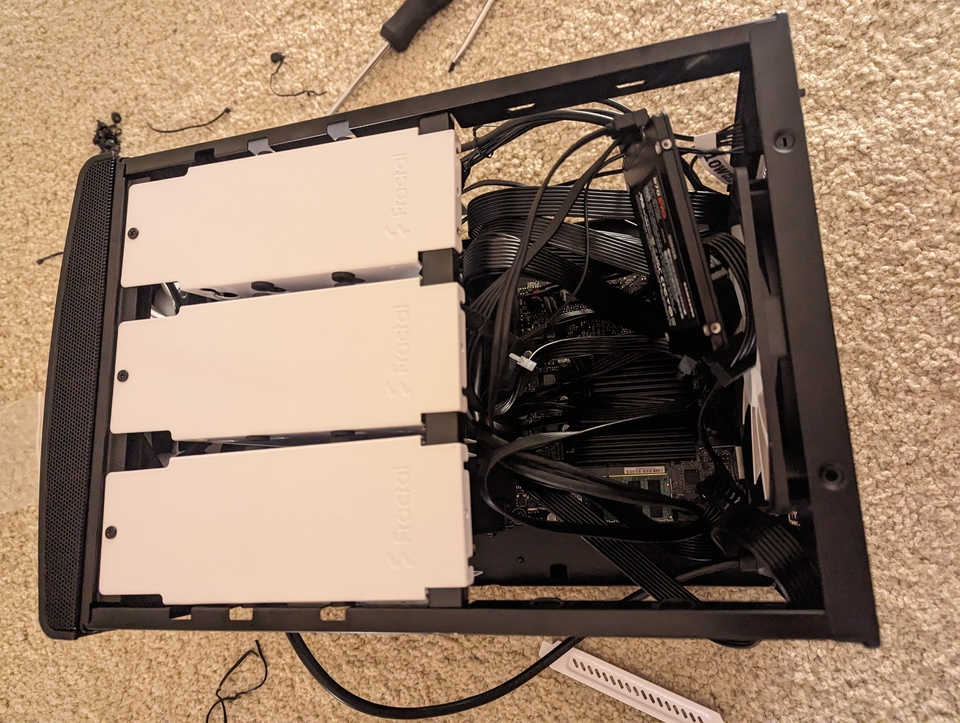
After putting everything into the case, I measured the total power draw again. 10.4W without hard drives, still an impressive number.
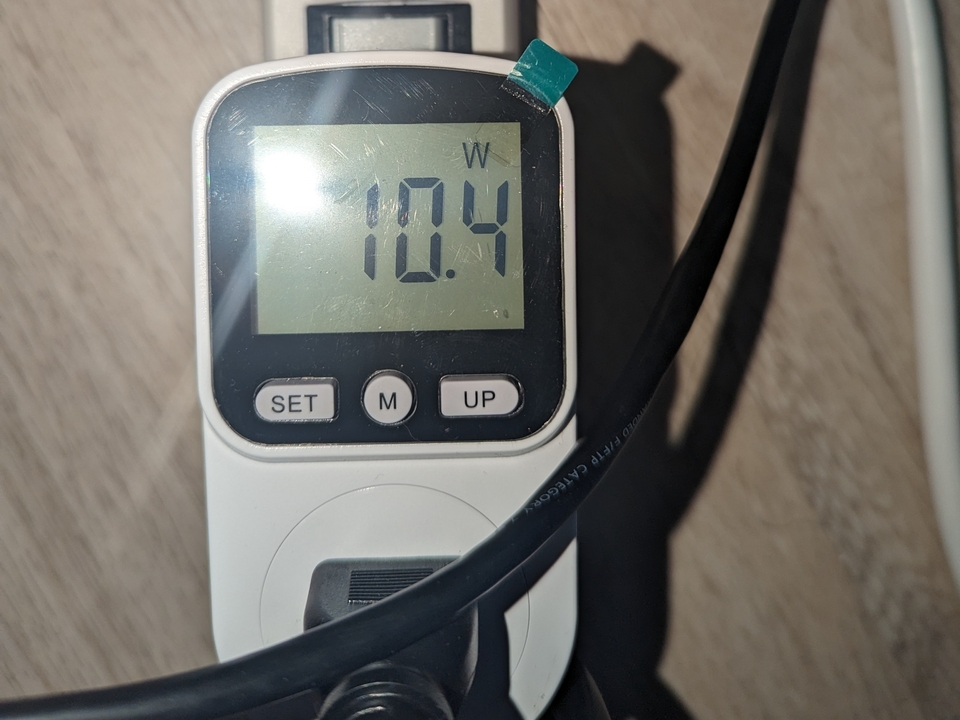
Now let's put the disks in.
OS Installation
This was just a regular Debian 12 (Bookworm) installation onto the machine. It mostly went smooth. But plot twist: the Intel i226-V NIC couldn't be recognized by the Debian installer, even though igc the driver is present in the kernel.
After a day of banging my head against the wall, I found the culprit: I had disabled the built-in Realtek NIC on the motherboard! As long as the built-in NIC is present, the installer can load the 2.5G NIC perfectly; but otherwise it refuses to recognize the NIC. There is something related to PCIe power management that prevents the network card from waking up, so the OS couldn't reach it. I could add a kernel flag to force the NIC to keep woken and working, but there's no easy way to modify the installer to make it also use the flag.
My workaround was to install the OS with the built-in NIC enabled. After booting into the system, add the pcie_port_pm=off kernel flag, then reboot and safely disable the Realtek NIC.
Just in case you wonder, disabling PCIe power management doesn't increase power consumption at all.
HDD Test
Before entrusting our precious data to these shiny new hard drives, it's time for a thorough health check. I followed this handy guide to test my new hard drives.
smartctl -t short /dev/sdX, taking ~2 min to finishsmartctl -t conveyance /dev/sdX, ~5 min to completebadblocks -b 4096 -ws /dev/sdX- This writes0xaa,0x55,0xff, and0x00to every block on the disk, and reads the contents after each pass to ensure the blocks work properly. Therefore the total time to finish in theory is6 TB * 8 / 180 MB/s = 74 hrs, although in practice it is finished in ~82 hrs.smartctl -t long /dev/sdX, running for 10.6 hours.
The process takes days to complete. Fortunately both of the drives passed the test.
Conclusion
Phew, I can't believe the post is more than 2000 words already. Anyway, in part 2 of the series, I will share the software setup to finalize the NAS build based on a fresh Debian install.